This post contains affiliate links. Please read our disclosure policy.
If you’re looking for a show-stopping dessert that’s as silky as it is decadent, this Chocolate Silk Pie is it. With a crisp Oreo crust, a rich chocolate filling, and a billowy whipped cream topping, it’s the kind of French silk pie recipe that impresses at holidays, dinner parties, or even just a cozy weekend at home. The best part? It’s easier to make than it looks — no pastry chef skills required.

Table of Contents
I have a long-time relationship with chocolate (don’t we all?). Chocolate ice cream. Chocolate cake. Chocolate anything, really. I wasn’t the kid who wanted a Halloween bucket full of candy. I was the kid who picked through it looking for Hershey’s and Milky Ways.
Not much has changed. I still think candy is a waste of time, that chocolate is the only sweet worth indulging in, and that this chocolate silk pie is the ultimate treat.
“Chocolate silk pie?” you ask. “What is this?”
You might know it by its other name: the French silk pie.
*que Italian music*
Y’all know how much I love to feel French. That’s the whole reason I started making this pie- because it felt fancy.
I know fancy doesn’t always mean better when it comes to food. Macaroni and cheese isn’t fancy, but it’s one of God’s most gracious edible gifts to mankind.
The French silk pie, however, is superior to all other pies on planet earth. Forget crummy store-bought pies or chocolate pudding-filled pies. The French silk pie is made with a decadent base of eggs, cane sugar, bittersweet chocolate, and cream. Need I say more?
No, but I will.
The chocolate French silk pie is the thing dreams are made of, but it can be a little… involved to make. Involved, and with way too much sugar.
For this recipe, I streamlined the instructions so you use as few bowls as possible, and I cut way back on the sugar. Don’t worry that scaling back on sugar makes it too bland—o contrair. When you swap cheap sugar for high-quality chocolate and cream, you can actually taste the flavors that make this pie so decadent.
Plus, when there’s less sugar, you can have a bigger piece, right?
Right.
What Is Chocolate Silk Pie?
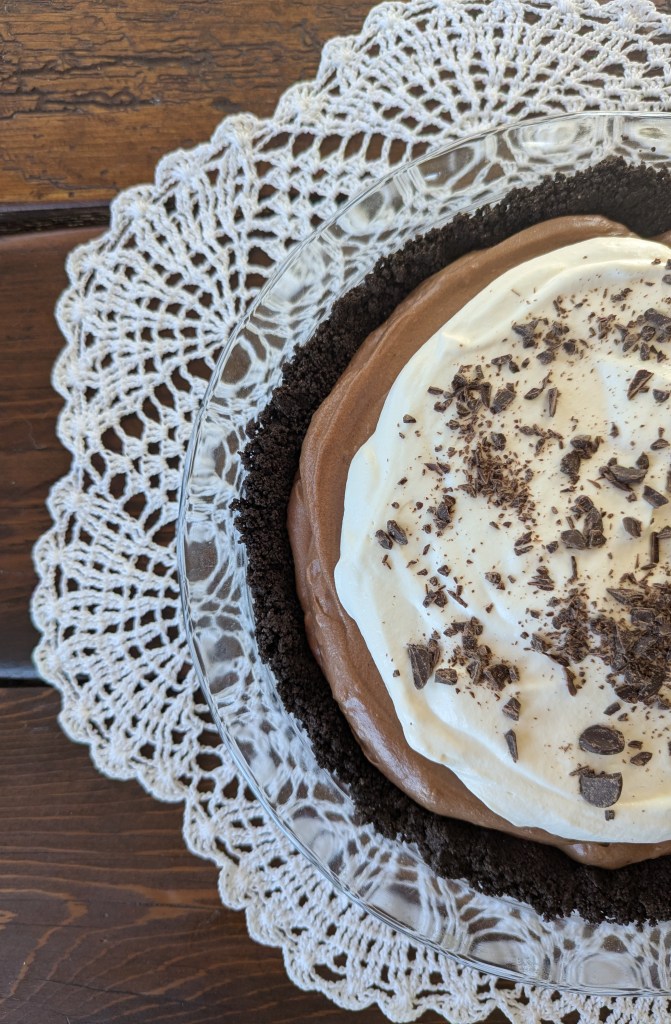
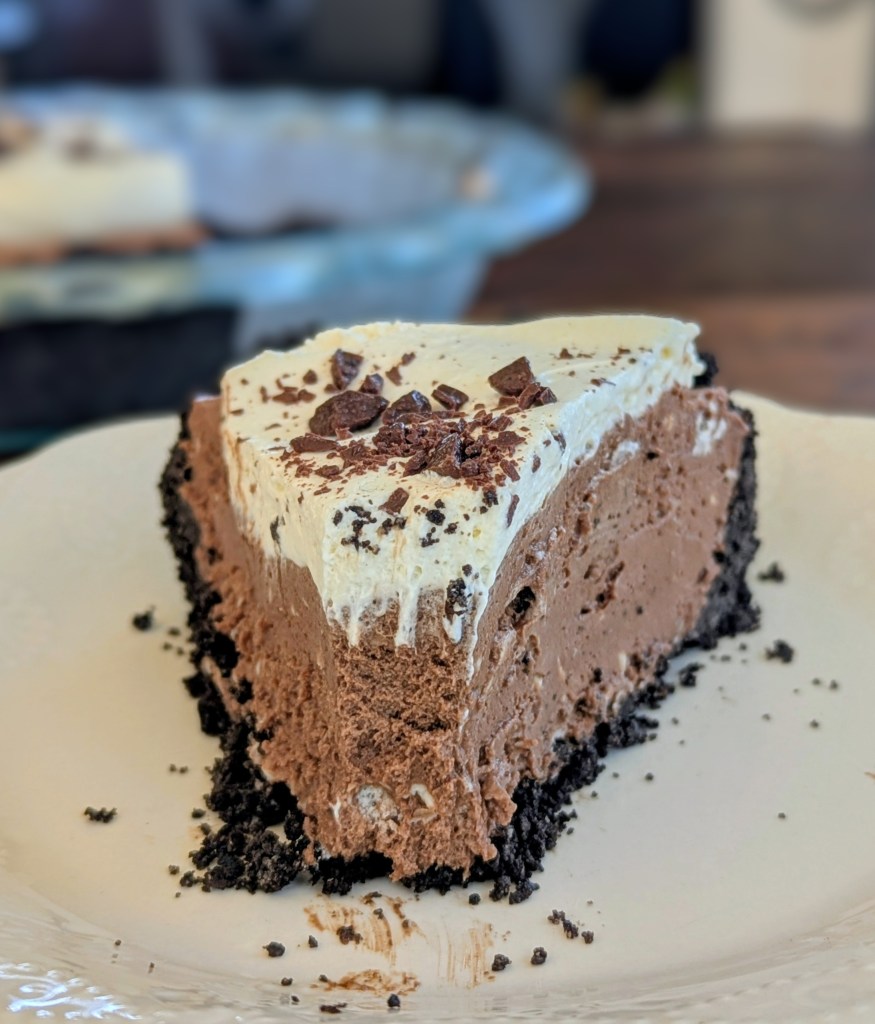
Chocolate silk pie — sometimes called French silk pie (y’all know how I like to feel French) — is a rich and creamy chocolate dessert that lives up to its name. The filling has a light, mousse-like texture that’s silky smooth, balanced by the crunch of a cookie crust and the fluffiness of whipped cream on top. Unlike a pudding pie or custard pie, chocolate silk pie is all about airiness and shine — a decadent bite that practically melts on your tongue. It’s the perfect choice when you want a dessert that looks impressive but is secretly simple to make.
Ingredients and Tools You’ll Need
Here’s everything you’ll need to make this silky chocolate pie:
For the Chocolate Filling:
- Bittersweet baking chocolate – high-quality baking chocolate bar or chips like Ghirdelli makes the pie extra rich.
- Large eggs – gently cooked to 160°F for a safe, smooth texture.
- Cane sugar – adds sweetness without overpowering the chocolate.
- Vanilla extract – rounds out the chocolate flavor.
- Heavy cream – whipped to stiff peaks for a light, airy filling. Look for cream without any gums or fillers for the best results.
- Unsalted butter – at room temperature, for a silky finish.
- Candy thermometer– for cooking and cooling the egg mixture.
For the Whipped Topping:
- Heavy cream (cold, for best results)
- Pure maple syrup (or powdered sugar, if preferred)
- Vanilla extract
Whipped cream feels indulgent until you learn about the amazing health benefits of real cream! For a full breakdown of how important vitamin A in cream is for our bodies, check out our post about Healthy Whipped Cream.
Optional garnishes: chocolate curls, chopped chocolate, cocoa powder, or fresh berries.
How to make Chocolate Silk Pie (Step-by-Step Instructions)
1. Melt the Chocolate
Place your bittersweet baking chocolate in a small saucepan and melt it gently over medium-low heat, or using a double boiler. Stir until completely smooth and glossy. Once melted, remove the mixture from the heat and set it aside to cool slightly — you want it warm but not hot when it’s mixed in later.
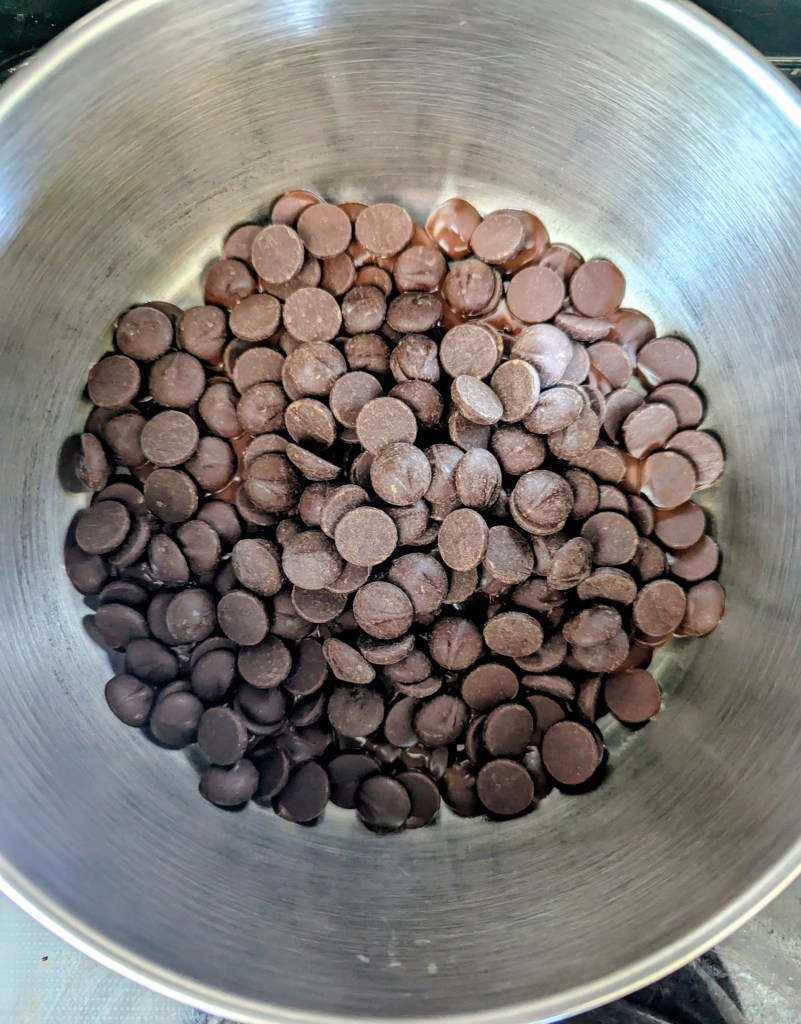

Tip: High-quality chocolate, like Ghirdelli, really makes a difference here. Go for a bar or chips labeled around 60–70% cacao for the best balance of sweetness and richness.
2. Cook the Egg Mixture
In a small saucepan, whisk together the eggs, cane sugar, and vanilla extract. Cook over medium-low heat, whisking often, until the mixture reaches 160°F. This step ensures the eggs are safe to eat and gives your filling a silky texture.
Once it reaches this temperature, remove it from the heat and allow it to cool to room temperature (approximately 75°F) before continuing. To speed up the cooling process, you can place the egg mixture in the refrigerator; just be sure to check it frequently so it doesn’t become cold.


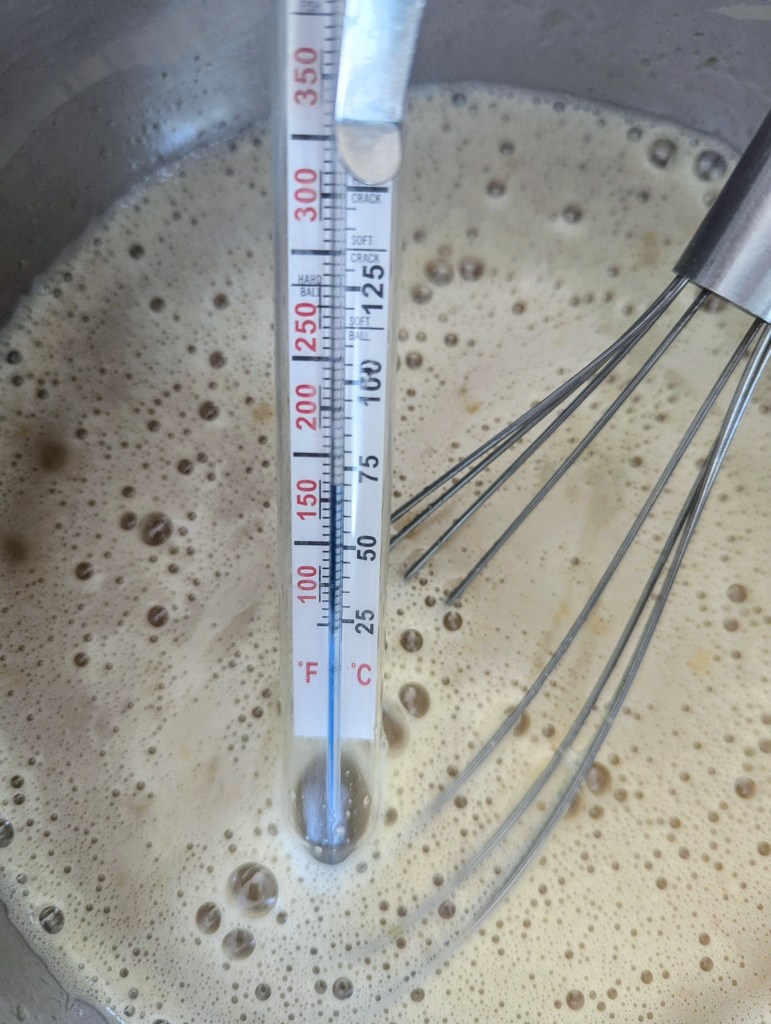
Tip: Keep the heat low and whisk often — you’re gently warming, not scrambling.
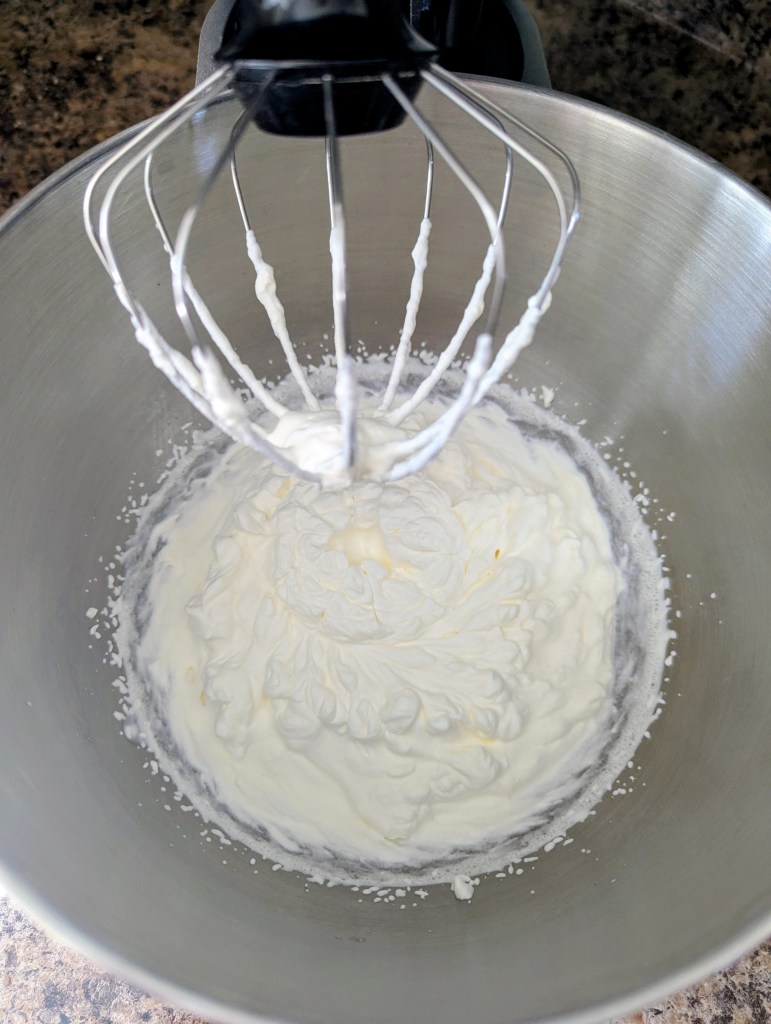
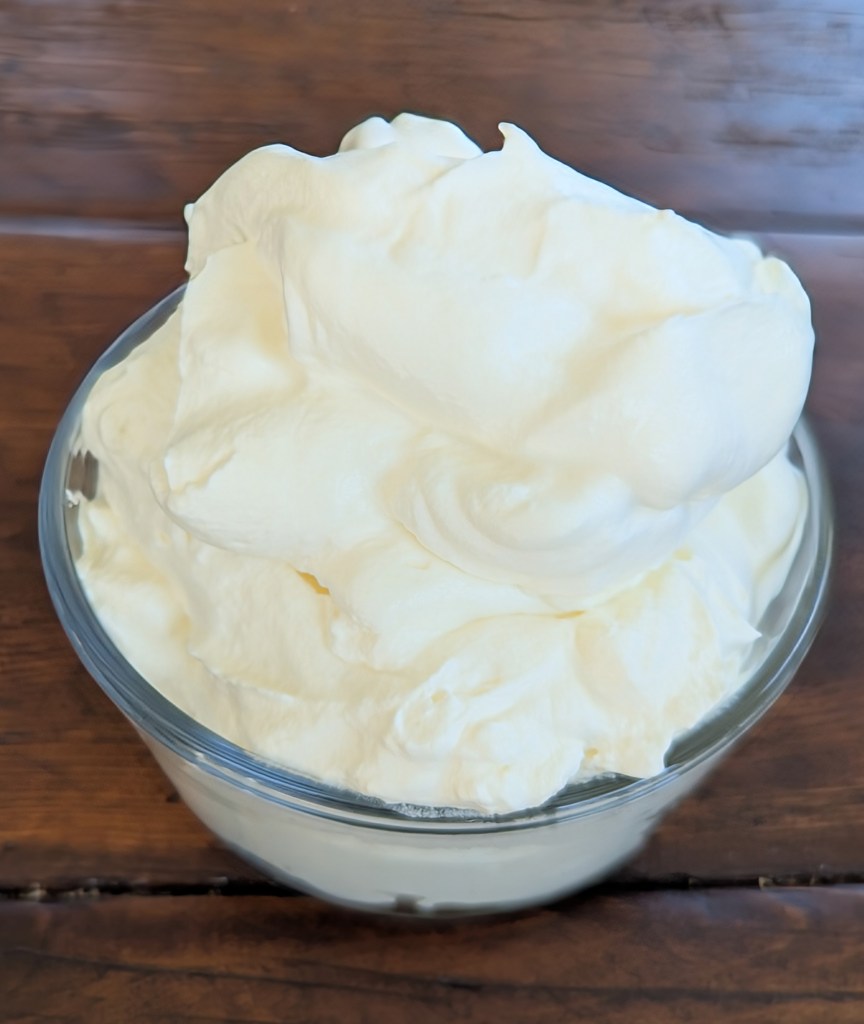
3. Whip the Cream
In a large mixing bowl or stand mixer fitted with the whisk attachment, beat 1 ⅓ cups heavy cream until stiff peaks form. Set the whipped cream aside in the refrigerator to stay cold while you prep the rest of the filling.

Then, wipe out the mixer bowl and switch to the paddle attachment. Add the room-temperature butter and cream it on medium speed until smooth and fluffy — this is your base for the filling!
4. Combine the Chocolate and Egg Mixture
Once both the chocolate and egg mixture have cooled, whisk them together until smooth and uniform. Slowly beat this chocolate mixture into the creamed butter until it’s fully blended and silky. Don’t rush this step — beating it well ensures that signature chocolate silk pie texture.


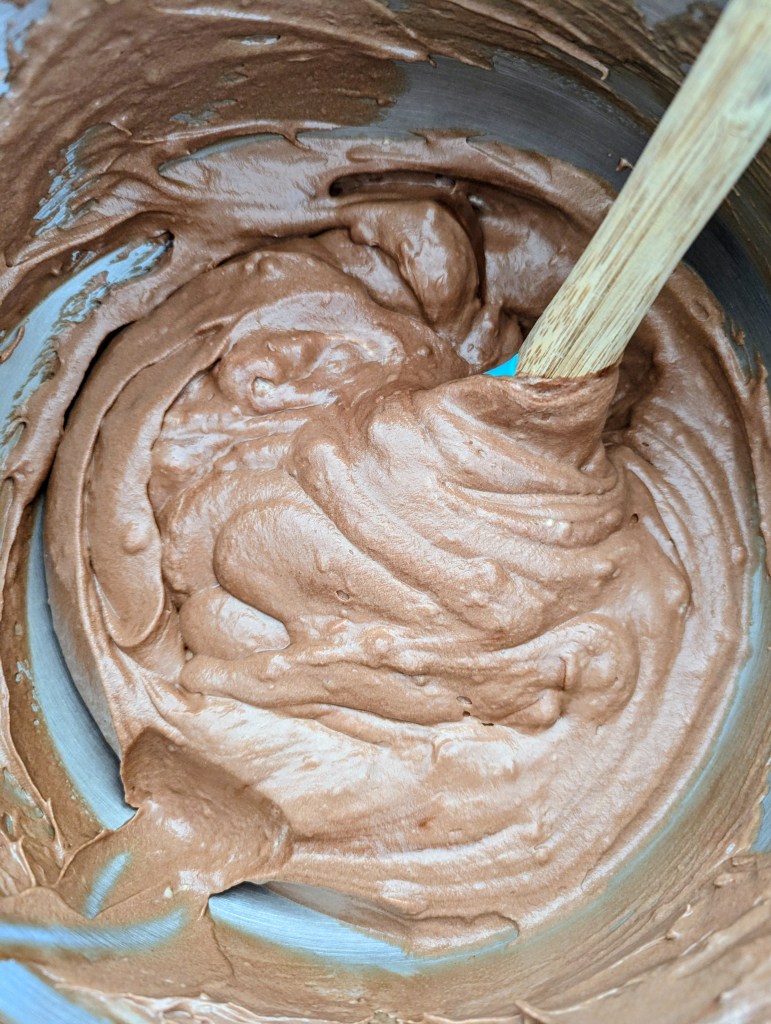
5. Fold in the Whipped Cream
Using a spatula, gently fold the whipped cream into the chocolate mixture until no streaks remain. Folding keeps the filling airy and light — resist the urge to stir! The result should look like rich, chocolate mousse.

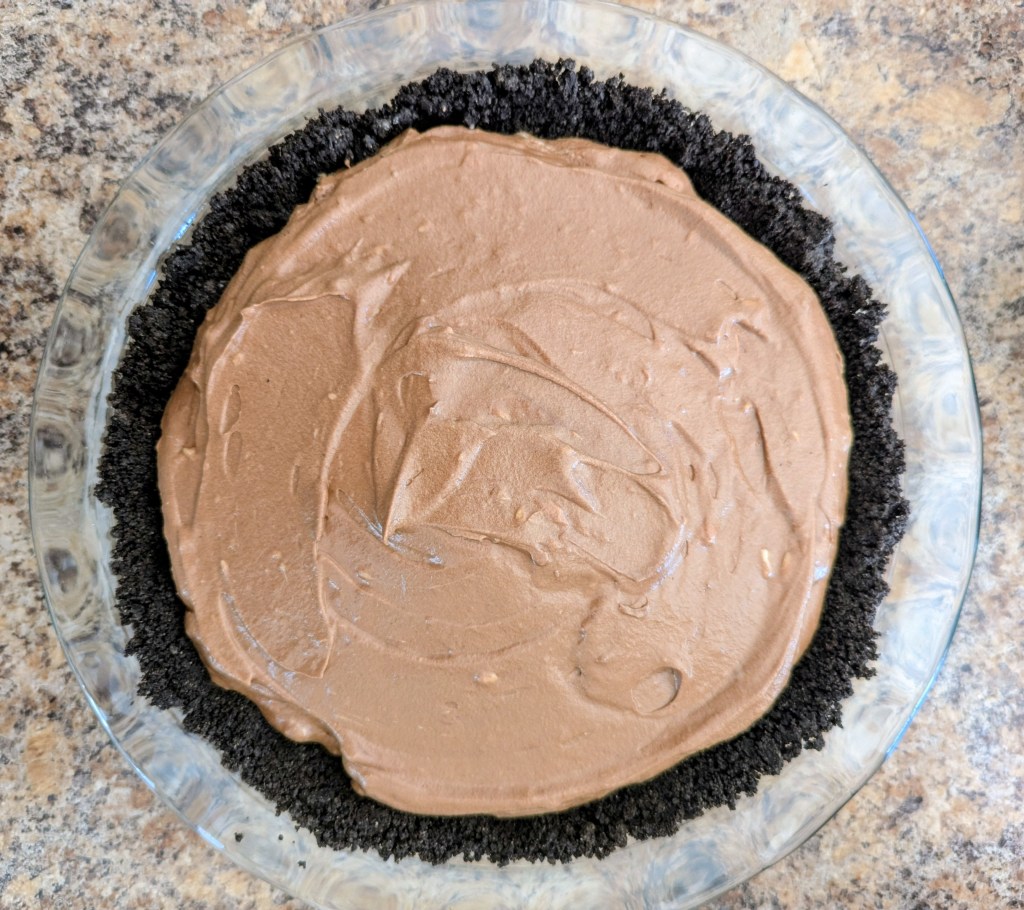
6. Fill and Chill the Pie
Pour the chocolate filling into your baked and cooled Oreo crust. Smooth the top with a spatula for a clean finish. Cover loosely and refrigerate for at least 4 hours, or overnight for the cleanest slices and firmest texture.
7. Make the Whipped Topping
Just before serving, whip cold heavy cream using the whisk attachment until soft peaks form. Add maple syrup and vanilla extract, then continue beating until medium peaks form.
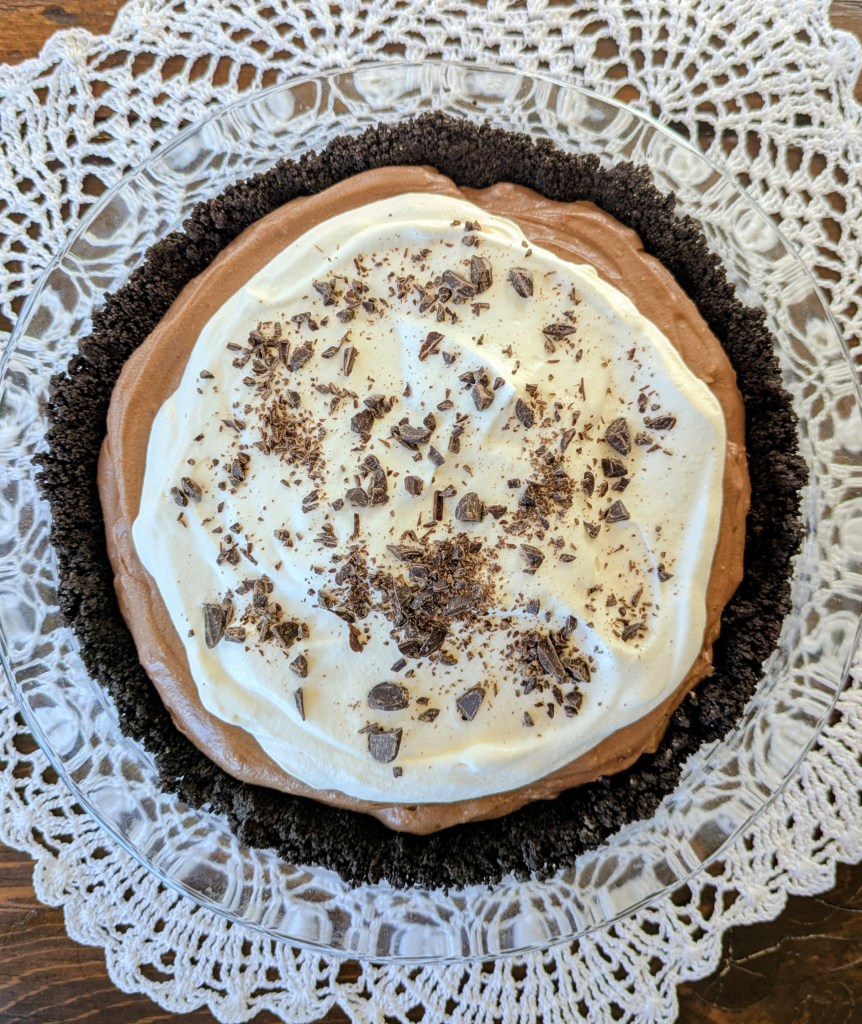
8. Top and Serve
Spread or pipe the whipped topping over the chilled chocolate pie. Garnish with chocolate curls, shavings, or a dusting of cocoa powder if you’d like. Slice, serve, and enjoy the silky, decadent texture that gives this chocolate silk pie its name!
Tips for the Best Chocolate Silk Pie
These simple tips will help your chocolate silk pie turn out perfectly every time. It’s tempting to rush through the steps, but I promise it’s worth the time and attention you’ll invest in this French silk pie!
1. Cool each component before combining. Let both the melted chocolate and the egg mixture cool before mixing them together. If either is too warm, the filling can separate or lose its silky texture. A candy thermometer comes in handy for this recipe.
2. Use quality chocolate. Since chocolate is the star, choose a good-quality bittersweet baking bar or chips (60–70% cacao). Avoid chocolate chips that aren’t specified as baking chips if possible — they contain stabilizers that can affect smoothness.
3. Don’t rush the whipping. Whip the cream until stiff peaks form — overwhipping can cause it to become grainy or turn into butter. Cold cream whips best.
4. Cream the butter well. Soft, room-temperature butter gives structure to your filling and helps it stay light and spreadable.
5. Chill long enough. Your pie needs at least 4 hours to set, but overnight chilling yields the best texture. It’ll slice beautifully without oozing.
6. Use a hot knife for clean slices. Dip your knife in hot water and wipe between cuts — it’ll give you those perfect, bakery-style slices.
7. Store it properly. Keep your chocolate silk pie covered in the refrigerator for up to 4 days. For longer storage, freeze before adding the whipped topping.
Variations & Serving Ideas
This chocolate silk pie recipe is easy to customize! Here are a few delicious twists:
• Graham Cracker or Pastry Crust: Swap the Oreo crust for a buttery graham cracker crust or our Sourdough Discard Pie Crust.
• Espresso Chocolate Silk Pie: Add ½ teaspoon espresso powder or a shot of brewed espresso to deepen the chocolate flavor.
• Peppermint Silk Pie: Perfect for the holidays — mix in ½ teaspoon peppermint extract and top with crushed candy canes.
• Orange Chocolate Silk Pie: Stir in a bit of orange zest or a splash of orange liqueur for a bright twist.
• Mini Chocolate Silk Pies: Make the filling in small tart pans or ramekins for individual desserts. Perfect for parties or gifting.
• Make it fancier: Garnish with chocolate curls, a drizzle of caramel sauce, or fresh raspberries for a restaurant-worthy finish.
FAQs
Does chocolate silk pie contain raw eggs?
Not in this recipe! The egg mixture is gently heated to 160°F, making it completely safe to eat while still keeping that light, silky texture chocolate silk pie is known for.
How long does chocolate silk pie last?
Chocolate silk pie will stay fresh for up to 4 days in the refrigerator when covered tightly. For the best flavor and texture, enjoy it within the first two days.
Can you freeze chocolate silk pie?
Yes! Wrap the pie (without the whipped topping) in plastic wrap and aluminum foil, then freeze for up to 2 months. Thaw it in the refrigerator overnight before serving, and add the whipped cream topping once it’s fully chilled.
What’s the difference between chocolate silk pie and French silk pie?
They’re essentially the same dessert! Both feature a smooth, airy chocolate filling and a layer of whipped cream. “French silk pie” is just the original name, but today, both terms describe the same rich and velvety chocolate pie.
Why is my chocolate silk pie runny?
If your pie turns out too soft, it’s usually because it wasn’t chilled long enough or one of the components was still warm when mixed. Always allow the chocolate and egg mixture to cool fully and chill the finished pie for at least 4 hours (or overnight) before serving. If this happens, you can still salvage the pie by breaking up the Oreo crust with a fork, swirling it all together, and calling it a pudding trifle!
Can I make chocolate silk pie ahead of time?
Yes, this pie is a great make-ahead dessert! Prepare it a day before serving and keep it chilled in the refrigerator. Add the whipped topping right before serving for the best presentation and texture.


Chocolate Silk Pie
Ingredients
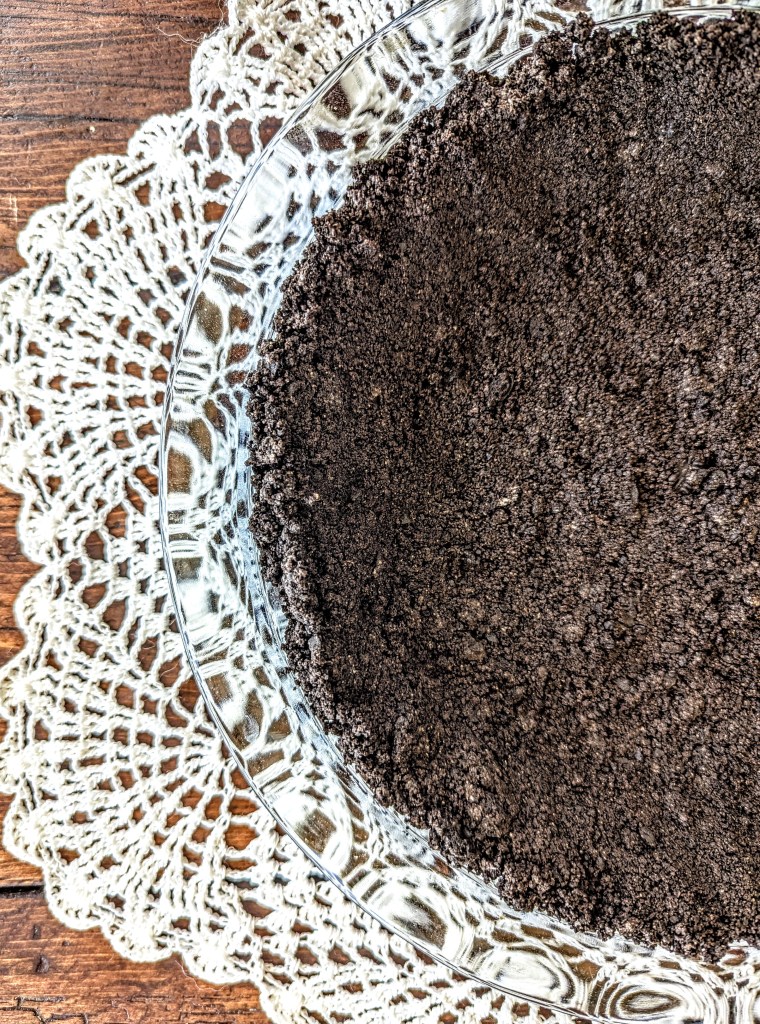
- 1 oreo pie crust, baked and cooled (see note 1)
For the filling:
- 1 cup cane sugar
- 5 large eggs
- 8 ounces bittersweet baking chocolate (bar or chips)
- 2 tsp vanilla extract
- 10 tbs salted butter at room tempterature
- 1 1/3 cups heavy cream, cold
For the Topping
- 1 cup heavy cream, cold
- 1 tbs maple syrup
- 1 tsp vanilla extract
Instructions
- Melt the chocolate: Place your bittersweet baking chocolate in a small saucepan and melt it gently over medium-low heat, or using a double boiler. Stir until completely smooth and glossy. Once melted, remove the mixture from the heat and set it aside to cool slightly — you want it warm but not hot when it’s mixed in later.
- Cook the Egg/Sugar Mixture: In a small saucepan, whisk together the eggs, cane sugar, and vanilla. Cook over medium-low heat, whisking often, until the mixture reaches 160°F (use an instant-read thermometer). Remove from heat and let cool to room temperature (around 75°F).
- Whip the Cream: In a large mixing bowl or stand mixer, beat 1 ⅓ cups heavy cream until stiff peaks form. Transfer to another bowl and refrigerate to keep cold. Wipe out the mixing bowl and switch to the paddle attachment. Cream the room-temperature butter until smooth and fluffy.
- Make the Filling: Whisk the cooled, melted chocolate into the cooled egg mixture until combined. With the mixer on low speed, beat the chocolate mixture into the creamed butter until smooth and glossy. Gently fold in the whipped cream until fully incorporated and no streaks remain.
- Assemble the Pie: Pour the filling into the baked and cooled Oreo crust. Smooth the top with a spatula. Cover loosely and refrigerate until set, at least 4 hours or up to overnight.
- Whip the Topping: Just before serving, whip cold heavy cream with the whisk attachment until soft peaks form. Add maple syrup and vanilla, then continue whipping until medium peaks form.
- Serve: Spread or pipe the whipped topping over the chilled pie. Garnish with chocolate shavings, curls, or a dusting of cocoa powder if desired. Slice and enjoy!
Notes
- Check out our Oreo pie crust recipe for the most decadent chocolate silk pie!
You’re going to Love This Pie
There’s not much I know for sure in this life, but I’m pretty positive this chocolate silk pie is about to become your favorite pie recipe of all time. Whether or not you’re familiar with the French silk pie, or if you even like pie, the first bite is going to convert you. Make it for yourself as a Friday night treat, or save this recipe for your next special get-together and impress all your friends. You’ll thank me later!

[…] pie in question here is the chocolate silk pie, also known as the best pie on planet Earth (in my not-so-humble […]
[…] French capsule wardrobes. French baking. French ambiance. Quiche. Silk pie. […]