This post contains affiliate links. Please read our disclosure policy.
If you’ve ever wanted a rich, chocolatey base for your favorite pies or cheesecakes, this easy Oreo Pie Crust Recipe is for you! With just two simple ingredients and a few minutes of prep, you’ll have a homemade crust that tastes way better than store-bought.
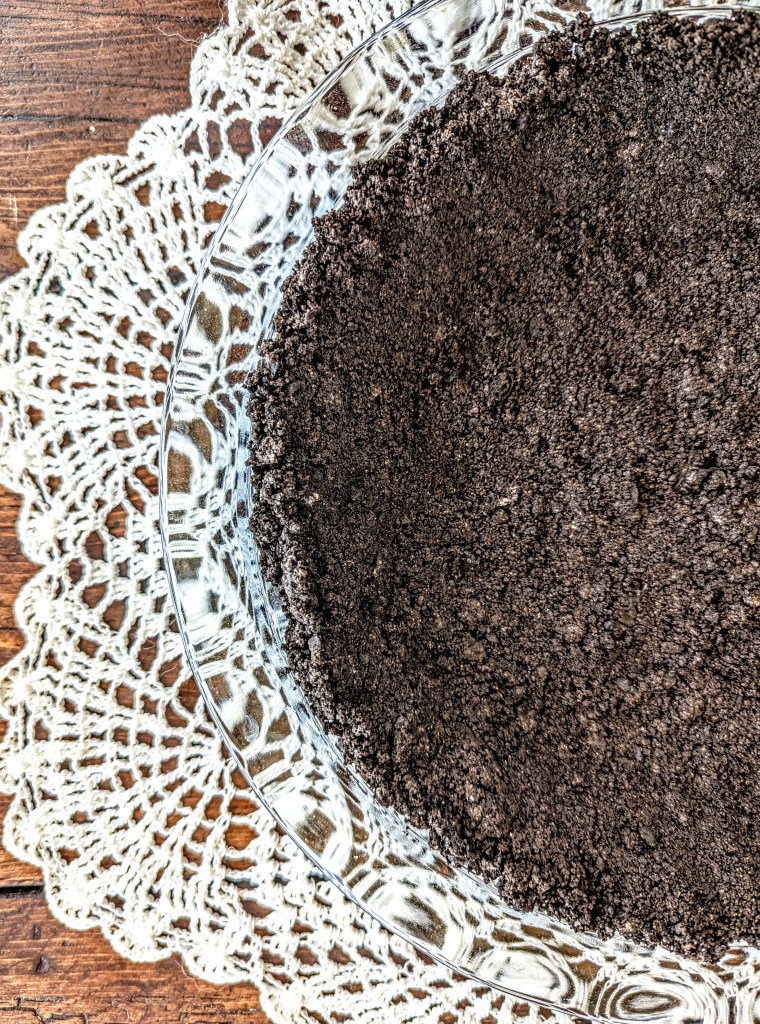
Table of Contents
I’m allergic to paying for things I can do myself.
I can highlight my own hair, paint my house, bake bread, and, yes, make my own pie crust. The DIY life isn’t for everyone (especially the hair highlighting part.. I have a license, so it’s a bit different), but if you’re looking to do a little more yourself, pie crust is the perfect place to start.
I usually gravitate toward our sourdough discard pie crust recipe, but some pies call for a different crust. A chocolate crust. An Oreo pie crust recipe.
*drool*
The pie in question here is the chocolate silk pie, also known as the best pie on planet Earth (in my not-so-humble opinion).
You can’t go through the steps of making a classic French pie and pour the heavenly mousse filling into a store-bought pie. I won’t allow it.
When you see how easy it is to make this Oreo pie crust recipe, you’ll never consider buying a pre-made one. It only takes five minutes to whip up, saves so much money, and gives you the satisfaction of saying, “I made it myself!”
Why You’ll Love This Oreo Pie Crust Recipe
If you’ve ever reached for a store-bought Oreo cookie crust and wondered, “Why so many ingredients?” or “Surely, I could make this myself,” this homemade version is for you. It’s quick, simple, and so much more flavorful — the kind of crust that makes every dessert even better. Best of all? You can make it baked or no-bake, depending on your dessert!
Here’s why you’ll love it:
- Only two ingredients! Just Oreos and melted butter — it doesn’t get better than that!
- Bake or no-bake options. Chill it for creamy, no-bake pies or bake it for a sturdier, crisp crust.
- Perfectly chocolatey. The crushed Oreos add a deep cocoa flavor that pairs beautifully with cheesecakes, peanut butter pies, or even ice cream fillings.
- Foolproof texture. Soft enough to slice but firm enough to hold any filling.
- Versatile. This Oreo cookie crust recipe is for pies, tarts, mini desserts, or layered no-bake recipes.
- Make-ahead friendly. You can prep and freeze it so it’s ready whenever dessert cravings hit.
Once you try this, you’ll never go back to store-bought — it’s too easy and too delicious. Pretty soon, you’ll be highlighting your own hair (just kidding, please don’t do that).
Ingredients You’ll Need for Oreo Pie Crust Recipe

You only need two simple ingredients to make this Oreo pie crust recipe. No fancy tools, no complicated steps — just pure chocolate cookie goodness.
Oreo Cookies
- I like to use a cleaner version of chocolate cookies, like Back to Nature. They’re still cookies, but it makes me feel a little better about what I’m feeding my family.
- Use classic Oreos for the best balance of cookie and cream.
- No need to scrape out the filling — it actually helps the crust stick together!
- You can also use Double Stuf Oreos for an extra-rich crust, or gluten-free Oreos if needed.
Butter (Melted)
- Butter binds the cookie crumbs and adds a buttery depth that brings the crust together.
- Both salted and unsalted work — use what you have on hand.
- If you’re dairy-free, coconut oil makes a great substitute.
Optional Add-Ins:
- A pinch of salt to enhance the chocolate flavor.
That’s it — two ingredients, five minutes, and you’re ready to press, bake, and chill your Oreo pie crust recipe!
How to Make this Oreo Pie Crust Recipe (Step-by-Step)
Step 1: Prepare Your Pan
Lightly grease a 9-inch pie dish or springform pan with butter or nonstick spray.
If you plan to bake the crust, preheat your oven to 350°F (175°C).
Step 2: Crush the Oreos
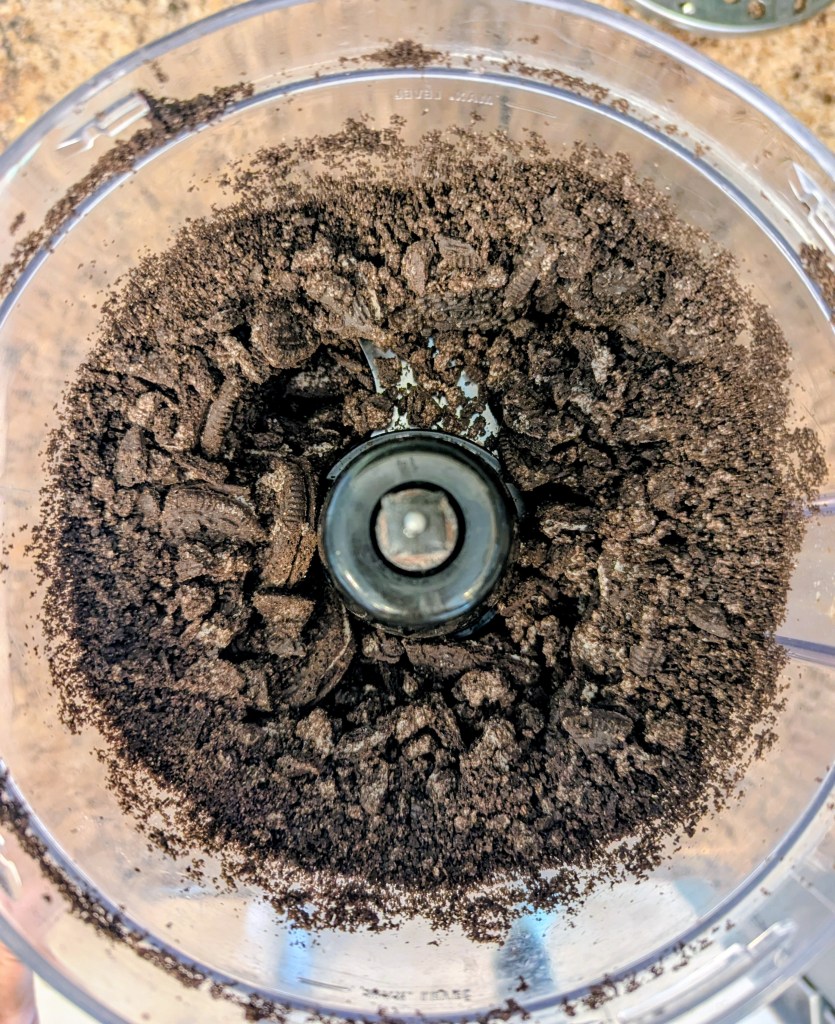

Add about 30 Oreo cookies (no need to remove the cream filling) to a food processor.
Pulse several times until you get fine, even crumbs. You’re looking for a sandy texture with no big chunks left.
If you don’t have a food processor, you can place the cookies in a zip-top bag and crush them with a rolling pin until finely ground.
Step 3: Add the Butter
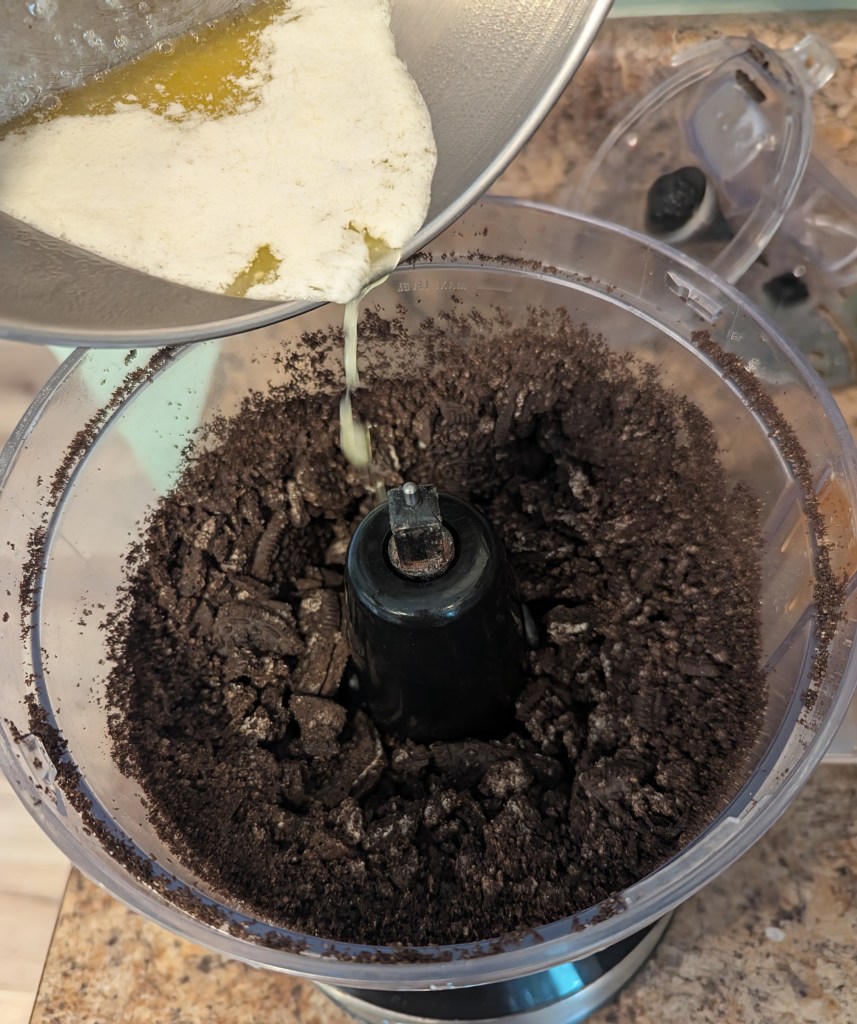
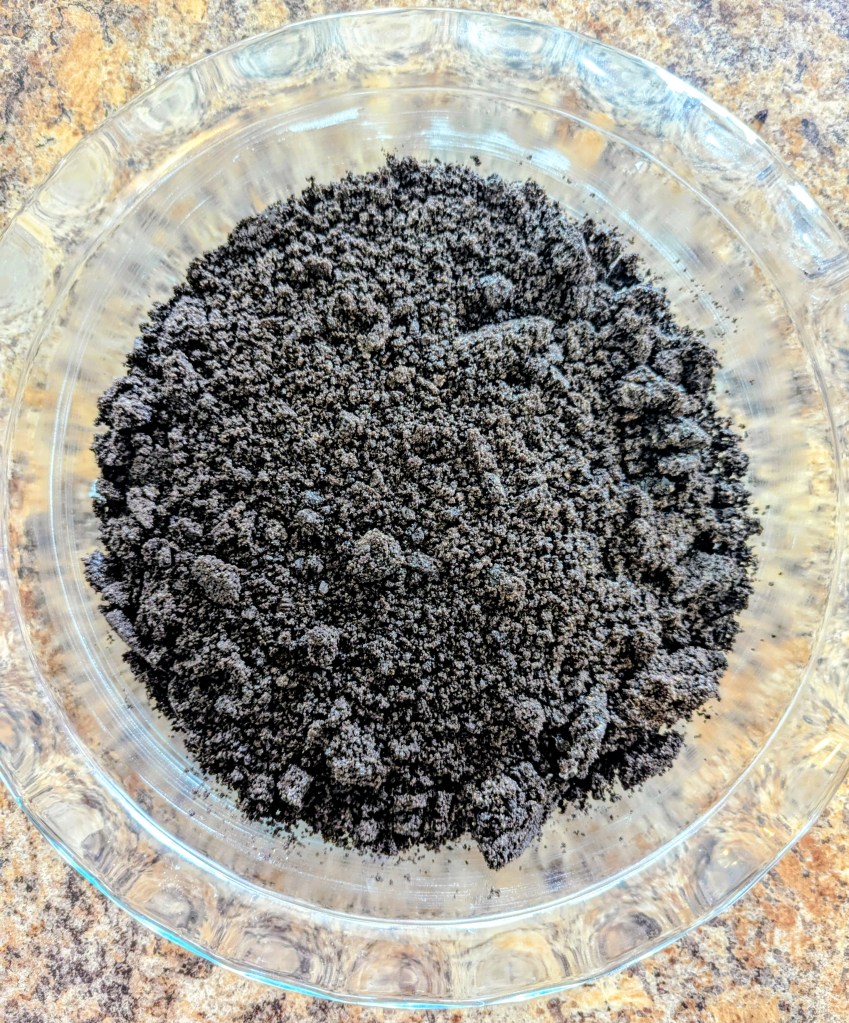
Pour in 4 tablespoons of melted butter and pulse again a few times until the crumbs are evenly coated and the mixture looks like damp sand.
When you pinch it between your fingers, it should hold together easily.
Step 4: Press Into the Pan
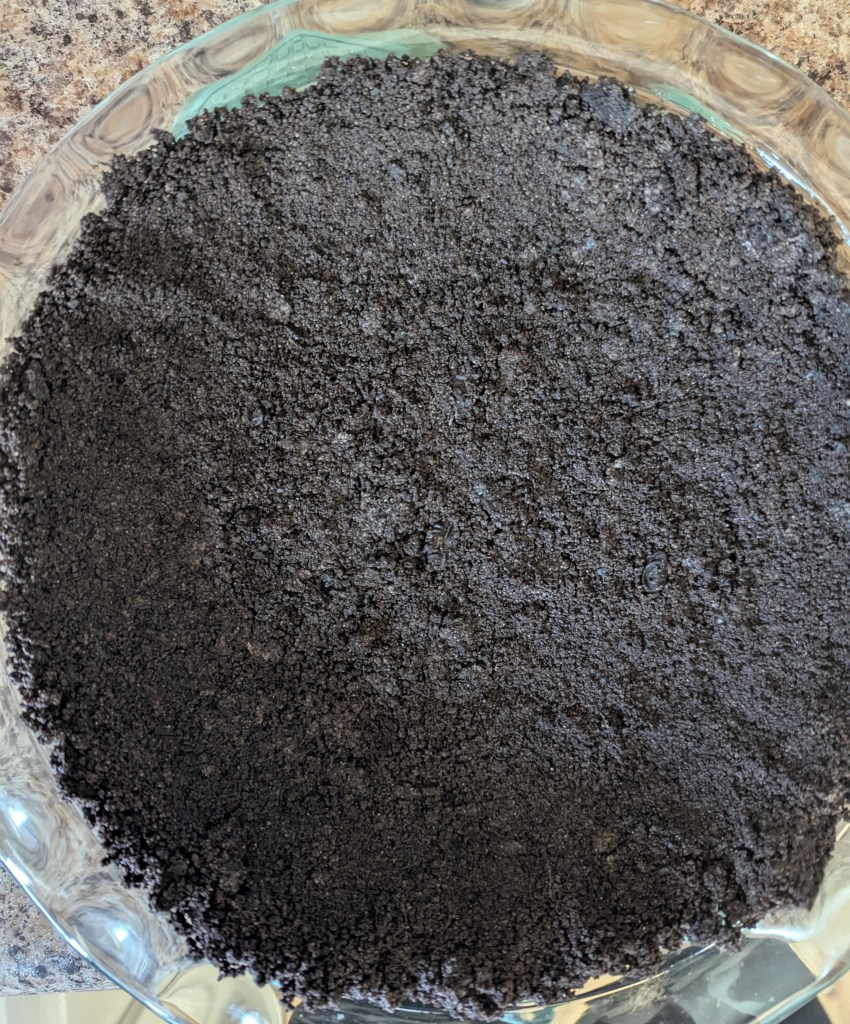
Pour the crumb mixture into your prepared pan.
Use the back of a spoon or the bottom of a measuring cup to press the crumbs firmly and evenly across the bottom and slightly up the sides of the pan.
Step 5: Choose Your Method — Bake or No-Bake
For a Baked oreo cookie crust:
- Bake the crust at 350°F (175°C) for 10 minutes, or until it looks set and smells rich and chocolatey.
- Let it cool completely before adding your filling.
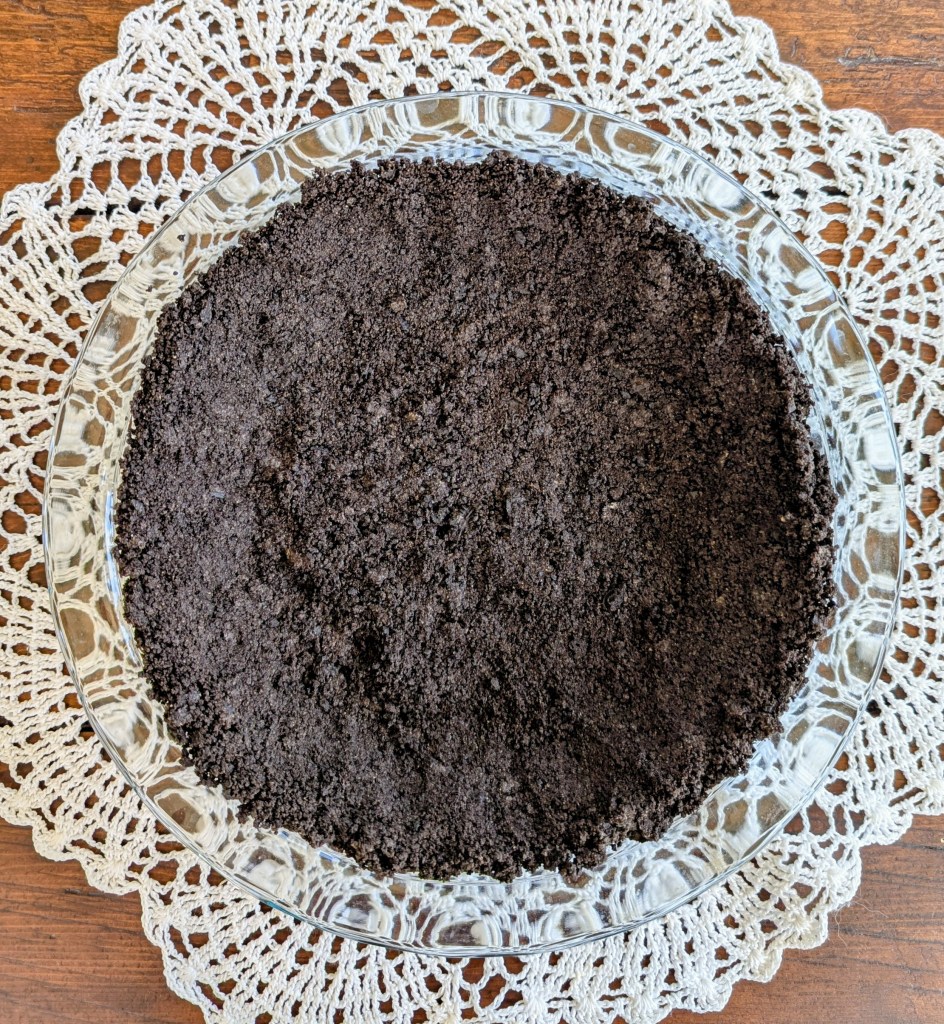
For a No-Bake oreo Pie Crust Recipe
- Place the crust in the refrigerator for at least 30 minutes (or the freezer for 15 minutes) until firm.
- Once set, it’s ready to fill with your favorite no-bake desserts like cheesecake or chocolate silk pie.
Tips for Success
- Don’t skip pressing firmly: A tight, even crust prevents crumbling when you slice.
- Chill before filling: Even baked crusts benefit from a quick 15-minute chill to firm up.
- Mix it evenly: Make sure the butter coats all the crumbs — dry spots can lead to cracking.
- Make ahead: Prepare and freeze the crust (unfilled) for up to 2 months — perfect for holiday baking or no-bake desserts.
Variations
This basic Oreo pie crust recipe is so versatile that you can try switching it up to match your dessert flavor or dietary needs!
- Double Stuf Oreos: For a softer, richer crust with extra filling flavor.
- Golden Oreos: Perfect for vanilla or fruit pies like banana cream or strawberry.
- Mint Oreos: Add a refreshing twist to chocolate-mint pies or grasshopper desserts.
- Peanut Butter Oreos: Great for pairing with chocolate or fudge fillings.
- Gluten-Free Oreos: An easy swap for a fully gluten-free dessert.
- Dairy-Free Option: Use coconut oil or plant-based butter instead of regular butter.
Try mixing different Oreo flavors together — like half classic and half mint — for a fun, layered flavor profile.
Ways to Use this Oreo Pie Crust Recipe
Once you’ve got your Oreo crust ready, the possibilities are endless! This chocolate cookie base pairs beautifully with almost any creamy, rich, or fruity dessert. Here are some of the best ways to use it:
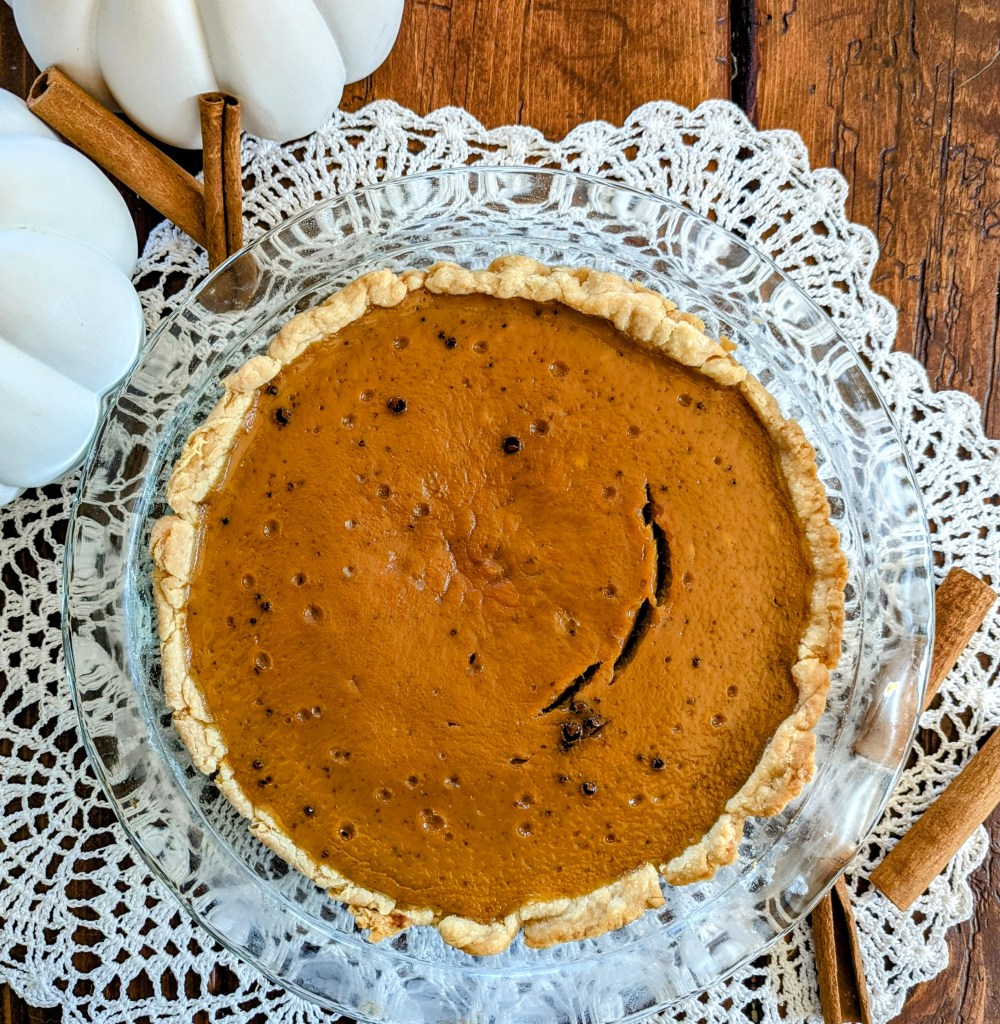
- Chocolate Silk Pie – hands down, the best chocolate pie you’ll ever make! Chocolate silk pie, also called a French silk pie, has a rich, mousse-like filling that complements the deep cocoa flavor of the cookie crust.
- Cheesecake – the perfect chocolate twist on a classic dessert.
- Peanut Butter Pie – Oreo and peanut butter are what dreams are made of.
- Ice Cream Pie – layer your favorite ice cream and freeze for a simple, crowd-pleasing dessert.
- Mocha Cream Pie – add espresso powder or coffee filling for a decadent coffee-chocolate combo.
- Mini Desserts or Cups – press the crust into muffin tins or dessert cups for single servings.
Pro Tip: If you love no-bake desserts, this crust makes a great base for layered puddings, mousse cups, or even frozen treats.

Oreo Pie Crust Recipe
Equipment
- 1 9-inch pie pan
Ingredients
- 30 chocolate sandwhich coolies like oreos
- 4 tbs melted butter or coconut oil
Instructions
- Prep the Oven and Pan: Preheat your oven to 350°F (175°C). Lightly grease a 9-inch pie dish or springform pan and set aside.
- Make the Cookie Crumbs: Add about 30 Oreo cookies (no need to remove the filling) to a food processor. Pulse until fine, even crumbs form.
- Add the Butter: Pour in 4 tablespoons of melted butter. Pulse a few more times until the mixture looks like damp sand and holds together when pressed.
- Form the Crust: Transfer the crumb mixture into your prepared pan. Use the back of a spoon or the bottom of a measuring cup to press it firmly and evenly across the bottom and up the sides slightly.
- Bake the Crust: Bake for 10 minutes, or until the crust looks set.
- Cool Completely: Remove from the oven and let the crust cool completely before adding your filling.
For a No-Bake Crust:
- Chill Until Firm: Place the prepared crust in the refrigerator for at least 30 minutes (or the freezer for 15 minutes) until firm and set.
- Fill and Serve: Add your favorite no-bake pie or cheesecake filling, then chill again before serving.
You’re never Going Back to Store bought!
Once you see how simple this Oreo pie crust recipe is, you’ll never go back to store-bought. I’m positive! If this is your first step toward homemade desserts, you’re about to join me in the allergic-to-paying-for-things-you-can-do-yourself-camp. Welcome, we have cookies. I must insist that after making your Oreo cookie crust, you fill it with chocolate silk pie filling. You’re life will be infinitely better. Happy baking!


[…] dessert that’s as silky as it is decadent, this Chocolate Silk Pie is it. With a crisp Oreo crust, a rich chocolate filling, and a billowy whipped cream topping, it’s the kind of French silk pie […]